Monday, February 7, 2011

More fun stuff!

2 postings within a week?!? I know, pretty amazing. But I just had to share some fun stuff! This weekend we bought Super Boy his 1st rifle! SCARY!!! He and I will be taking a Hunter Safety Course starting Wednesday, and the shooting portion has to be done with a 22 caliber rifle. We didn't have one, and we have to provide our own, so we bought one. Super Boy and Tall Boy and I all went out shooting on Saturday. Tall Boy taught us how to steady the barrel. Super Boy and I both picked it up quickly and were pretty good shots! Sowe are ready for our course!

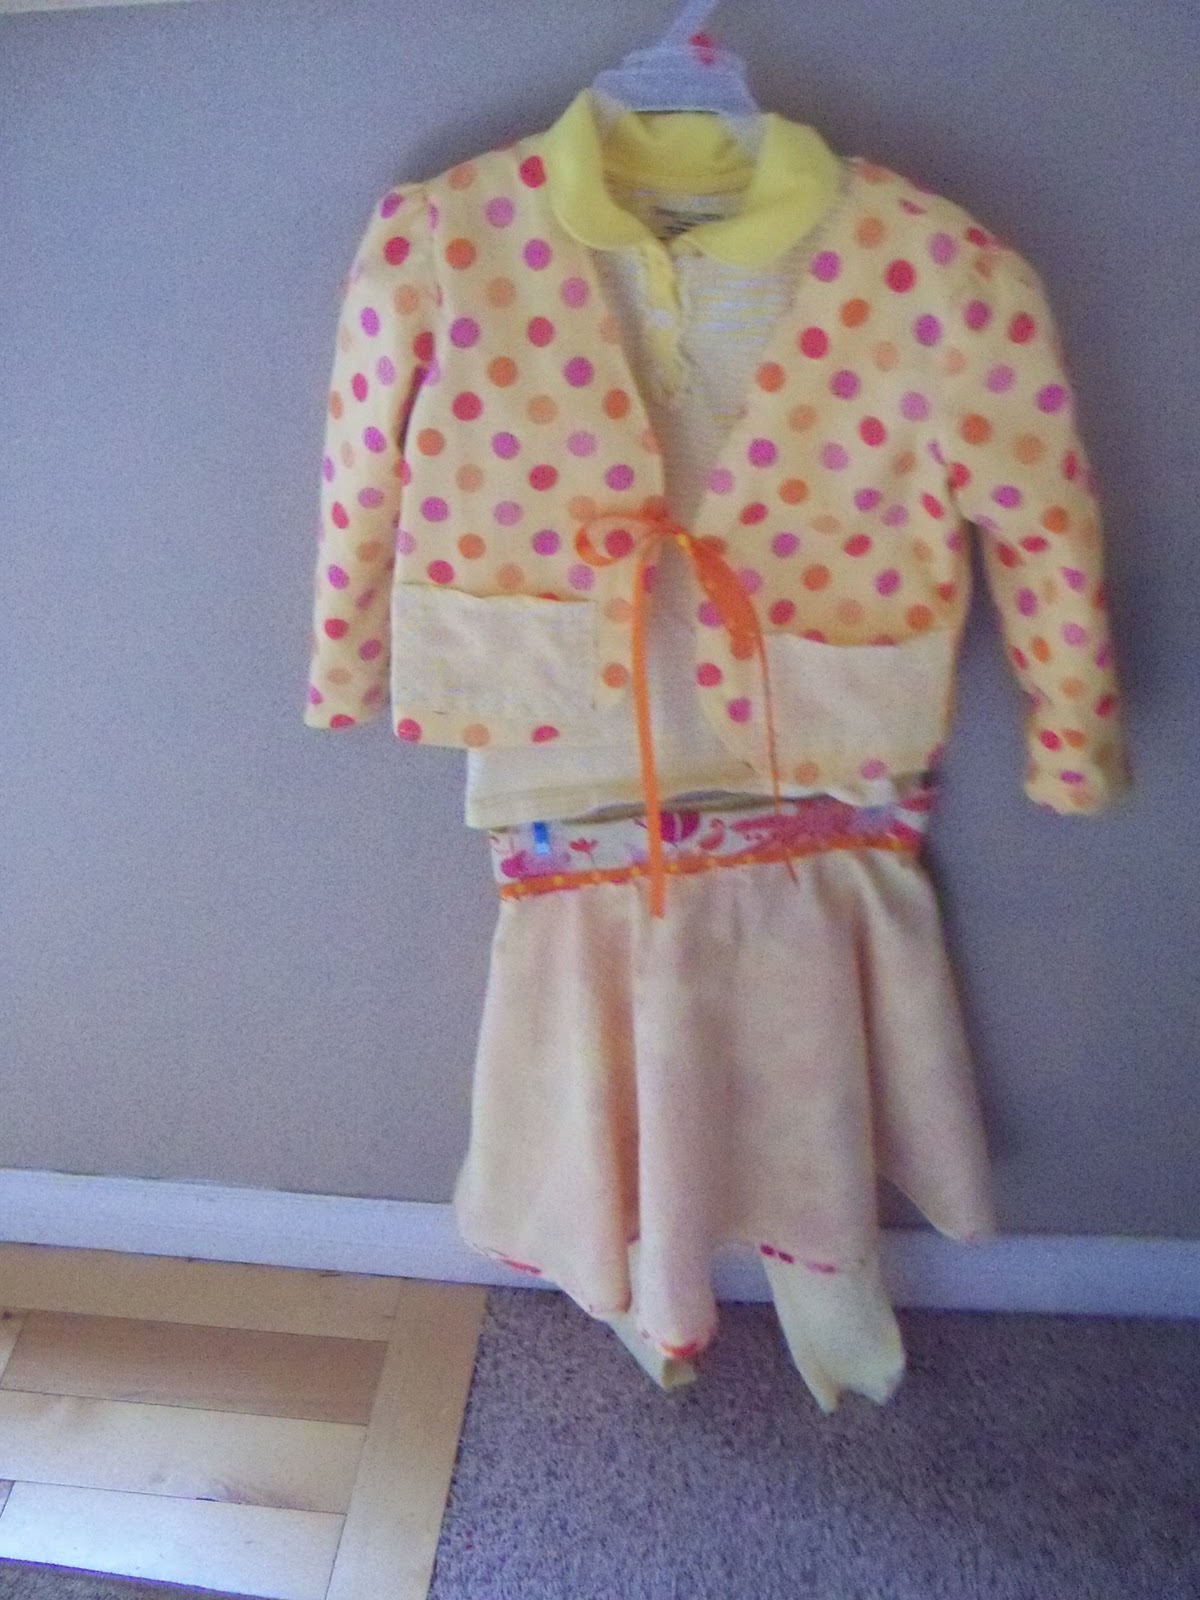
Also this weekend,I came across the cutest fabric and pattern for Super Girl's Easter dress this year. Only, it is a skirt and jacket. So I found a shirt (and some leggings just in case we have another freezing cold easter!) and got started today. i finished just a few minutes ago! I decided to make her outfit reversible so we could mix and match the patterns. It is SO CUTE!!! I still have plans on making a bag/purse to match and maybe even a bunny or other stuffed animal to go along with it. Here is the finished product with all the options!

Polka Dot Jacket with Gingham Check Skirt

Polka Dot Jacket with Flowered Skirt

No Jacket with Gingham Check Skirt
No Jacket with Flowered Skirt
 
Gingham Check Jacket with Flowered Skirt

Gingham Check Jacket with Gingham Check Skirt

Saturday, February 5, 2011

Mommy-Daughter Day

On Tuesday this week, Super Girl and I had a fun Mommy-Daughter day. We went to the mall where they have a Build a Bear Workshop. Super Girl got a bear for Christmas, so we took the bear to get a birth certificate and give her a name. Super Girl was in heaven! The sales associate offered a cute little house for the bear, and some bows for her ears! Super Girl was beaming when we left the store. Then we went to Clair's to check out ear piercing. Super Girl has been wanting pierced ears for at least 6 months, and she finally felt brave enough to do it. But Clair's didn't have a cute selection of earrings, and the ones Super Girl wanted were $40.50 + tax! I thought that was a RIDICULOUS price for not-cute earrings, so we decided to check out Wal-Mart.We had looked there before and I remembered a cute set of butterfly birthstone earrings that came with a matching necklace for less than $20. So we arrived and I let Super Girl pick out the set she wanted. Then she sat on my lap with her cute bear squeezed to death while the 2 ladies pierced both ears at once. Super Girl cried for a minute (that's to be expected...IT HURTS!!!) But then she stopped crying and was so proud of her beautiful earrings! She has been great about letting me clean and turn them 3 times a day,and everywhere we go, she tells and shows people her beautiful pierced ears. She even says, "I was SO BRAVE!". Super Girl even got a certificate of bravery from Wal-Mart. It is super cute! Anyway, that was our very cool Mommy-Daughter day! Here are a couple of pictures...

Thursday, January 20, 2011

Playing Catch-Up

Sorry it has been SO LONG since our last post. Winter, holidays, and LIFE seem to just take over! Here is a quick update:

I got an A in my online class last semester, now I have started a new online class and love it so far. Tall Boy and I celebrated our 11th wedding anniversary. Super Boy finished flag football and has now moved on to basketball. He loves being active and earning beltloops and other awards in cub scouts. Super Girl is still LOVING preschool and can't wait until she is 5 so she can go to Kindergarten.

We had a wonderful Thanksgiving with Hot Mama's family, and a spectacular Christmas at home.

Recently I started the YOU on a diet plan by Dr. Oz. It has been 1 week and I have lost 3 pounds! I have had so much more mental energy that it has been hard to sleep! I had a couple of slip ups, craving cave-ins, and a dinner out, but I still managed to lose 3 lbs without any extra exercise!!! Hopefully this trend will continue and I will continue to make progress! Wish me luck!

Monday, October 11, 2010

Super Girl's Preschool Photo!

We just got the school pictures back...here's Super Girl!

Thursday, October 7, 2010

I made a FREE dollhouse today!

I have been looking for a cheap dollhouse for Super Girl for Christmas...I have found cute EXPENSIVE ones! I even looked into a kit to make one, even cardboard ones...they were all really pricey. So I started looking online for do it yourself instructions for either wood or cardboard. I found this awesome website

http://letsbuildadollhouse.com/

It has directions for a beautiful and big wooden dollhouse. So I looked through all the directions and thought, "I can do this with cardboard!" So I drew up a plan for one similar to the one I found online...
Then I went and measured the cardboard we have. It turned out to be smaller than the plans called for, so I just adjusted it to that size. You need two pieces roughly the same size for all of the architecture. One big piece is the outer shell of the dollhouse. The other is used to make the roof and floors. This is my big piece already scored...
I figured the depth to be 1/2 the depth of the cardboard. This way I could make 2 floors and didn't have to worry about a lot of cutting. Mine came out to be 11 inches, so I measured in from the outer edge on each side and marked in 11 inches. I then scored it with a butter knife (see above picture) I used a box cutter and a butter knife alot during this whole process...
After I had my big piece scored, I measured out where the tabs would be to hold the floors in place. I marked up my board (I knew I was going to wallpaper, so I didn't have to worry about excessive marking. If you are not using wall paper, you should mark using a pencil). Then I cut out each hole, 1" wide and 1/4" tall. I found it easiest to cut the sides first, then the middle line...
Then I cut the bottom and top lines...
I pushed my butter knife through the top and bottom line, then flipped the cardboard over and cut out the sides from the back. I used my butter knife to punch out the cardboard...

After I had the holes cut out everywhere, I cut out the 2 floors and marked the places for the tabs. I cut the tabs out using my box cutter...
I would later learn that the tabs need to be about 1/2 the size of your hole to allow wiggle room during assembly.

I then cut out the roof. I used a piece of cardboard that was 2 times the depth of the house...in my case 22", and 2 inches wider than the width of the house, 24" for me.

I scored the board in the middle and folded it to the angle I wanted. I then traced the angle on another piece of cardboard and cut out 2 triangles for the sides of the roof. I used hot glue to glue them to the roof. Then I got out several sheets of black construction paper to make shingles for the roof. I started out by folding the paper into 12ths...1st in half...
Then 1/2 again same direction...Then into 3rds...
I cut all the paper apart along the lines. The I used one to make a template of the shingle shape...I started from the bottom edge of the roof, making sure to hang over for later gluing under. I also made sure to overlap shingles so no brown showed through and wrapping over the corner edges as well...
I worked my way up the side, making sure to offset each row of shingles...
I only glued the top strip and sometimes a small dot under the shingle to keep it down...
I did both long sides first, then I did the short sides. Sometimes I had to cut the shingles to fit the triangle crest...
When it was all done, I made a small scalloped strip to go on the top crest of the roof...
Now it's time to cut out the windows. I chose 4"X4" because that's what my frames would fit (frames come a few steps later). So I measured to the center of the room wall and cut my 4X4 openings there. I only cut windows in the side walls, but you can do it wherever you want...

Next is wallpaper. I made the mistake of doing the corner of one room before I had the floor in, it got torn up a bit. So just do the other sections...

The next step was making windows. I made 4 windows, but each takes 2 window frames (1 inside and 1 outside). I used craft sticks (Popsicle sized) and my framing square. Each window uses 6 sticks...
I backed only the 4 outside frames with clear plastic, but it looks better if you back all 8...
Before you install the windows, you should have your windows cut out, and your wall paper/paint done. I got consumed by this project and forgot to stop and take pictures along the way, but here is the 1st installed window on the exterior...I got the brick pattern online and just printed a bunch... http://www.jennifersprintables.com/woodbrickandtiles001.htm
After the windows are cut you can install the floors. I would suggest covering them before you install them. This is the hardest part. I ended up needing some added pressure while the glue dried...
After the floors are installed, then you can do the wallpaper in the corners. (I just used colored computer printer paper) Then just place the roof on, and TADA!!! You have a house!
Then I decided to try and make a chair from some directions I found online. It didn't turn out great, but it's a start!

So that's it, my 1st dollhouse!
Wednesday, September 29, 2010

Playing Catch-up! Super Girl:preschool, bday and cute hairstyles; and Super Boy Flag footbal Fun!

Super Girl recently had her 4th birthday! Time sure does fly! We had so much fun! But the best part was Super Girl's surprise gift...GMA K flew all the way out just for her bday!!! She stayed for a week (WAY TOO SHORT) and we had a blast!!
Here are some cute pics of Super Girl going to preschool. Her 1st day was on her birthday!!!
She got a bunch of elephants from her family bday party on her bday...
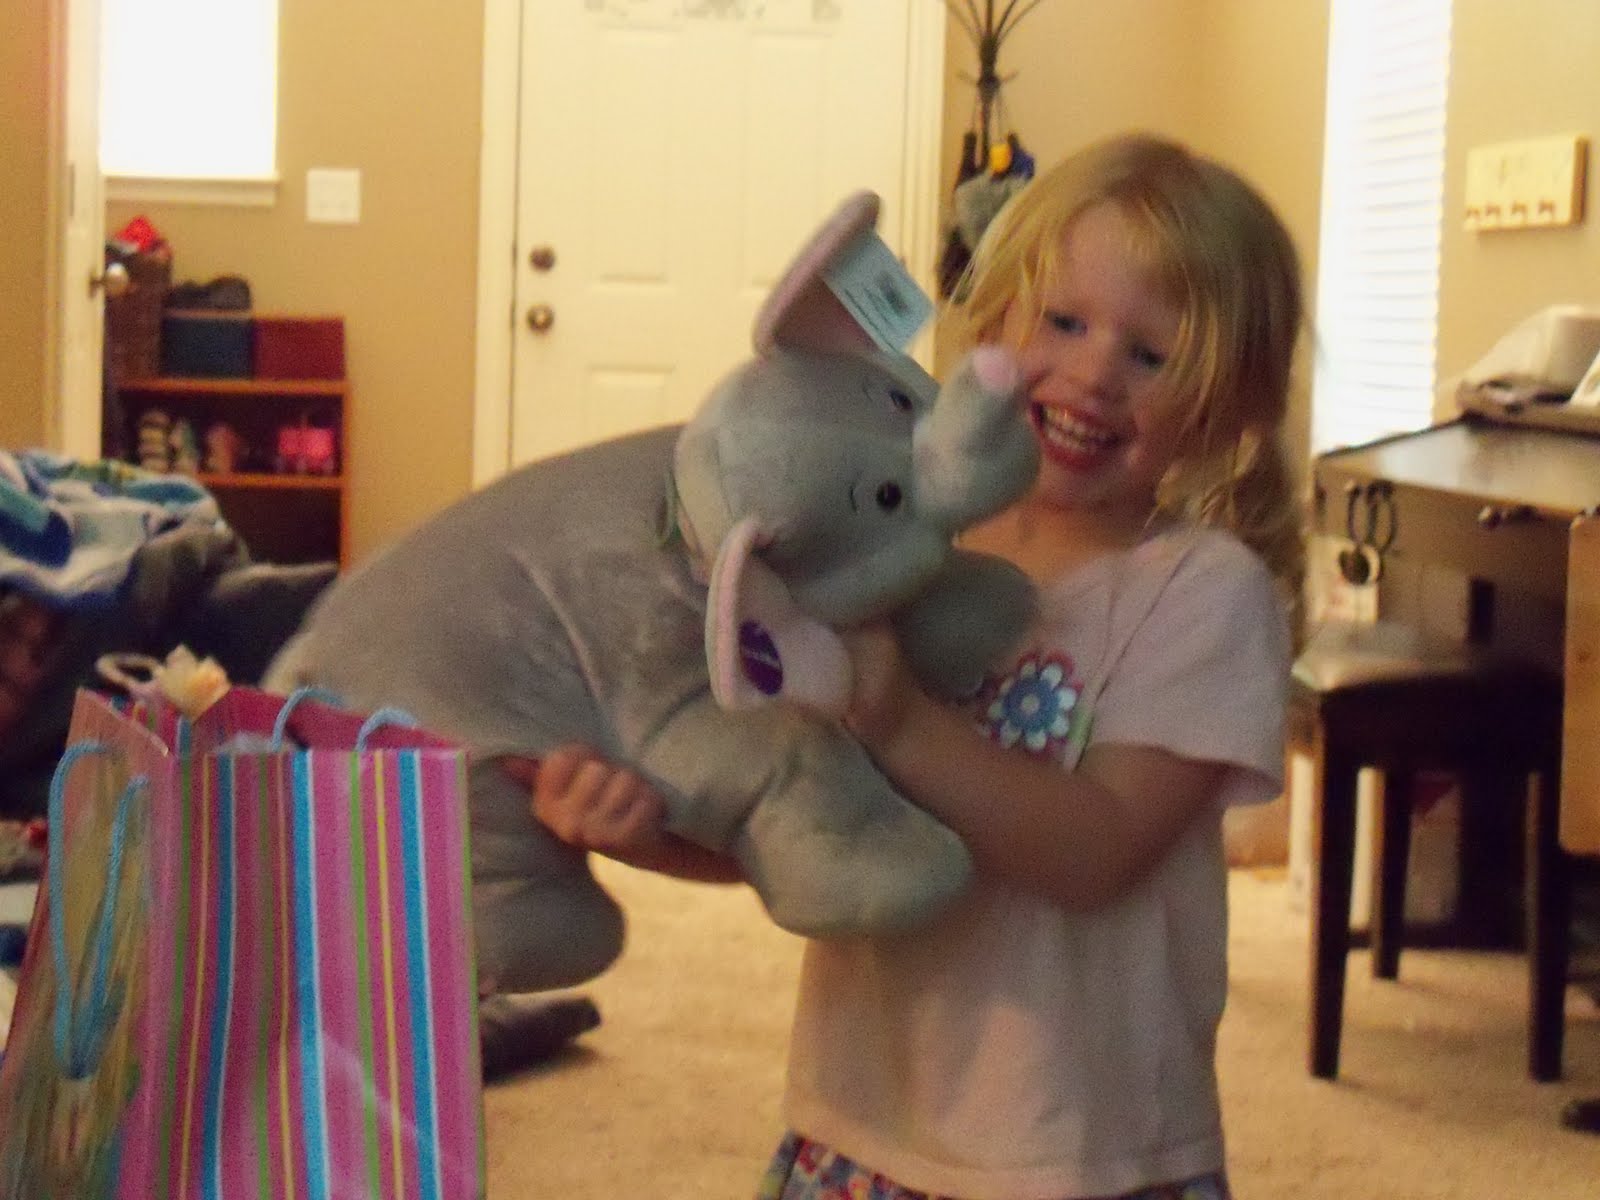
And the 1 thing she asked for...an elephant pillow pet!
Gma and Gpa C gave her this SUPER ADORABLE OUTFIT!!!
She ended up wearing it for her school pictures!
Gma and Gpa K sent this present home with us when we visited in July...
We had white cake with chocolate frosting...
After a long day of school, watching brother at football practice, and a bday party, she finally tuckered out surrounded by her new stuff!
Then, over the weekend, we had a friend bday party. It was a princess theme...
Here's her cake... Pink on the inside too!
We had a crown cutout for a bean bag toss game...
Some kids took it VERY SERIOUSLY!!!
Super Girl had so much fun opening all her fun presents...
My mom brought this pattern with her and helped me buy the material to make this adorable outfit...
The Fab 5 found this cute outfit for her...she loves bunnies too!
I have been having fun experimenting with hair-do's for Super Girl. Here is the one I did today, it's a french braid that goes from one ear to the other, very low on the back of her head...here are photos...
This next hair-do is a favorite of mine...Super Girl likes it too! This was for church one week...
Another favorite, this time for school...
Then there was the time when Super Girl wanted ALL of her PRETTIES in her hair at the SAME TIME!!!
Super Boy also started Flag Football this season. Here he is at his 1st practice...
And at his 1st game!
The coach is telling Super Boy that he is blocking on the next play for the ball carrier...
They won their 1st game! Can't you tell by the exhilaration and pride on his face???
Super Girl loves flag football too! When we go to practice, this is what she likes to do...
There is a climbing wall at the playground where the boys practice!

And when we go to games, she has a special friend to play with...Super Girl calls her Snow-fee...
Super Girl has also recently learned how to roller skate! There are days when she barely takes them off!!!
This last weekend we took a drive up the canyon and this is what we found...FALL!!!!!
Also, while my mom was here, she brought us this cute pan for silver dollar pancakes...
I have since found that the wells are the perfect size for the egg portion of a homemade egg mc muffin! If you want all the details, go visit my recipe blog...
http://yummiesforyourtummy.blogspot.com/2010/09/home-made-egg-mcmuffins.html